Prepare Dashboard
To create a new dashboard, first you have to establish the source files or notebooks that will power the dashboard.
Dashboards can be created based on Jupyter notebooks (ipynb), py, or R files - or any file types supported by the framework you want to use.
The files can be supplied to the new dashboard in one of two ways: via the Jupyter tree or via a Git repo.
Jupyter Tree
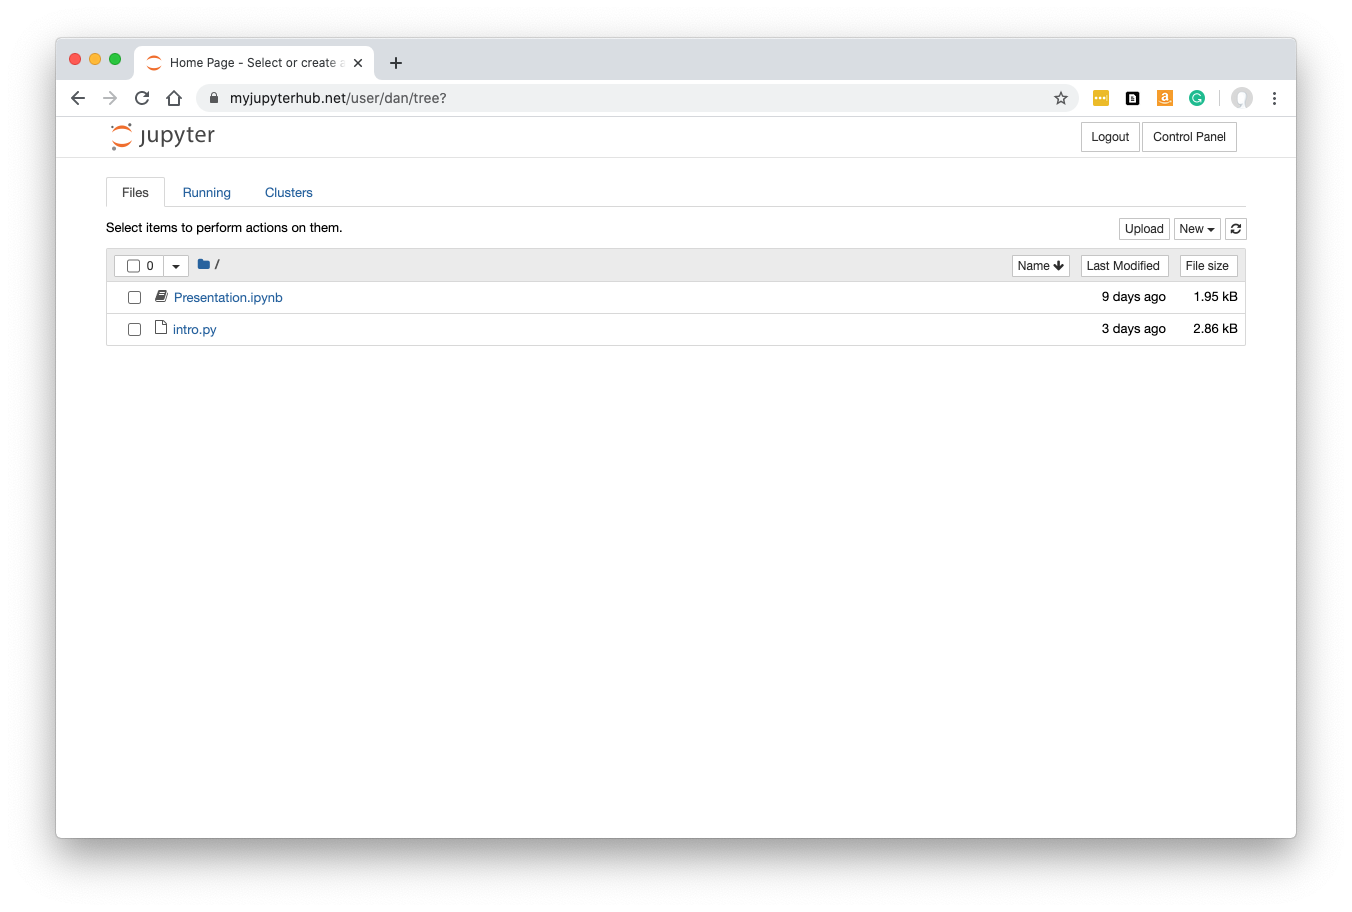
Use ‘My Server’ (or a named server) to create a Jupyter notebook (ipynb file) as normal or upload/edit Python or R files to make apps.
Below, we have both an ipynb (Jupyter notebook) and a py file. We will be able to make two dashboards, one for each file.
For Jupyter notebooks, of course you can run them as usual in your Jupyter server - and there is a ‘Voilà Preview’ button so you can see how the final dashboard will appear. Voilà is the name of the technology that is essentially a user-friendly and secure version of Jupyter notebooks: code cells are hidden, and the user can only view the intended end result. They can interact with widgets if they are present in the notebook though.
Streamlit, Plotly Dash, Bokeh/Panel, and R Shiny apps can’t normally be run at this stage (in Jupyter), so for now you would upload Python/R files and data that you have developed on your own machine.
It is also possible to use a Jupyter extension such as jupyterlab-git to import files from a git repo into your Jupyter tree so you can manually interact with the git repo’s project structure. (Alternatively, just skip the Jupyter tree completely and provide a git repo directly to the new dashboard, as described next.)
Git Repo
Provided your files are on a git repo somewhere, you can supply the git repo URL to ContainDS Dashboards when you create the new dashboard.
Every time the dashboard is started, the latest files will be pulled from the repo into a deterministically-named folder in the dashboard server’s file storage. The folder name will be derived from the git repo URL.
The ‘git’ command line tool must be installed in your user environment for the ‘git repo’ source type to work.
Supplying your git repo URL works straight away for a public repo, or an open repo hosted in the same internal network as your JupyterHub.
To access private Git repos, you can set access tokens in all singleuser servers’ Git config through GitHub login or similar (see GitHub for Login and Repos).
It is also possible to access a private git repo if you supply the username:password as part of the git URL.
For example, suppose you want to pull from a private git repo on GitHub, at https://github.com/myorg/privaterepo.git.
Obtain a personal access token with ‘repo’ scope from the developer settings on GitHub (full details are here).
In your new dashboard, use the URL:
https://mygithubusername:261d832de29d0923db96989@github.com/myorg/privaterepo.git
where ‘mygithubusername’ is just your own username on GitHub, and the long hex string is your personal access token.
Please note that you must ensure that your JupyterHub is sufficiently secure to use your personal access token in this setting. It may appear in logs or config, or even when another user obtains a process list in a terminal. So you must consider who else has access to the JupyterHub.